Replacing The O-Ring Within the Cable Grab in the HLL
If the O-Ring has any of the following conditions: Cracked, Dried Out, Brake Cleaner sprayed on the O-Ring, Any form of deterioration THE O-RING NEEDS TO BE REPLACED
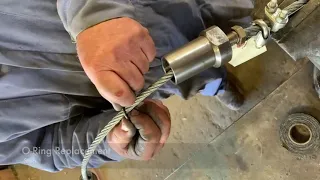
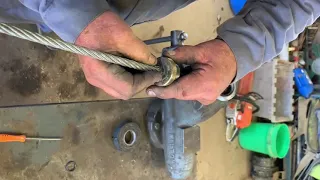
Step 1
After the jaws have been removed while servicing the HLL, between the back-cylinder and the inside-cylinder, take a pair of sheer-cutters and cut the defective O-Ring off the HLL cable.
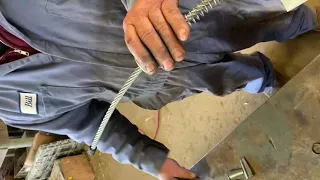
Step 2
Place one hand on the back-cylinder cap to refrain from the back-cylinder cap from sliding during lubrication, use your opposite hand, and apply Anti-Seize 2-3 inches. Above the back-cylinder cap on the cable.
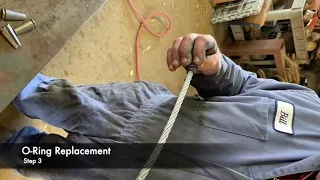
Step 3
Take Brake Cleaner and spray Brake Cleaner to each jaw piece until the thin residue is off of each piece.
Dry each jaw piece before proceeding.
Next, individually take each Jaw Piece laying the piece vertically on a flat surface, you will horizontally scrub each jaw piece until the residue is gone. Avoid scrubbing the threads of each jaw directly with Wire Brush.
Place Jaw Pieces back onto a flat surface.
Locate the cable-button on the end of the HLL, located on the opposite side of the inside-cylinder and turnbuckle, and gently slide the new O-ring towards the back-cylinder cap.
Step 4
Keeping one hand on the back-cylinder to avoid any sliding, use the opposite hand to pinch the O-ring against the cable, while simultaneously rotating the back-cylinder cap to allow the O-Ring to feed through the groves of the cable.
When the O-ring is nearly threaded through the back-cylinder cap, take your small flat-head screwdriver and push the remaining exposed O-ring through the back-cylinder while rotating the back-cylinder.
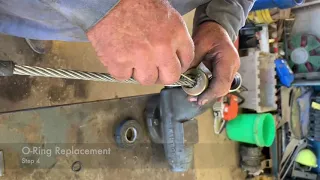
Step 5
Keeping one hand on the back-cylinder to avoid any sliding, use the opposite hand to pinch the O-ring against the cable, while simultaneously rotating the back-cylinder cap to allow the O-Ring to feed through the groves of the cable.
When the O-ring is nearly threaded through the back-cylinder cap, take your small flat-head screwdriver and push the remaining exposed O-ring through the back-cylinder while rotating the back-cylinder.
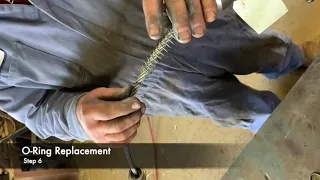
Step 6
Once the O-ring is threaded through the back-cylinder cap, take the cable-grab spring and pinch the O-Ring.
Use the small screwdriver to guide the O-Ring through the center of the cable grab spring.
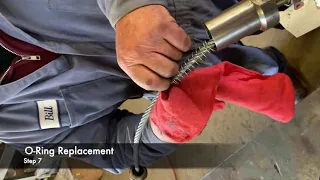
Step 7
Wipe the Anti-Seize off the O-Ring and cable
You are now ready to reassemble the Jaws.
Click to Email Safety Pole
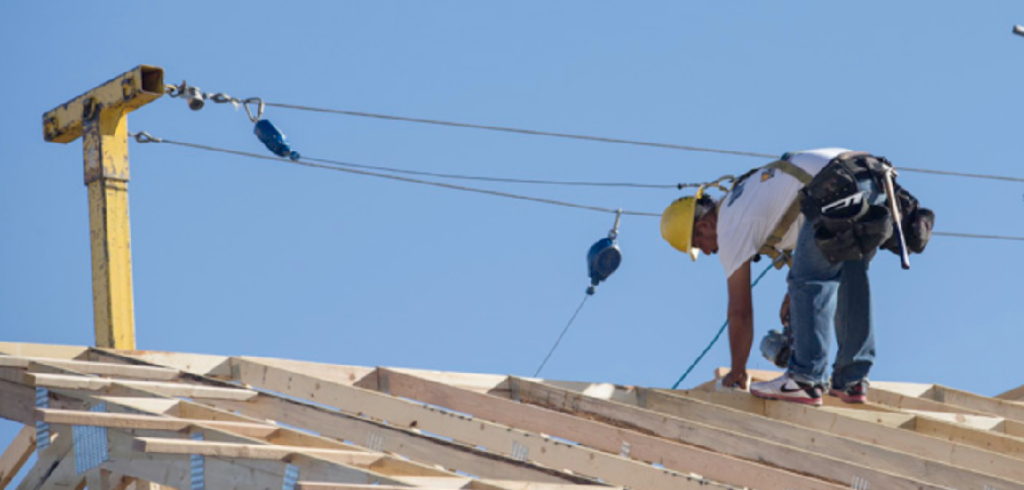
Contact Safety Pole The Safety Pole System Meets Your Fall Protection Framing Needs