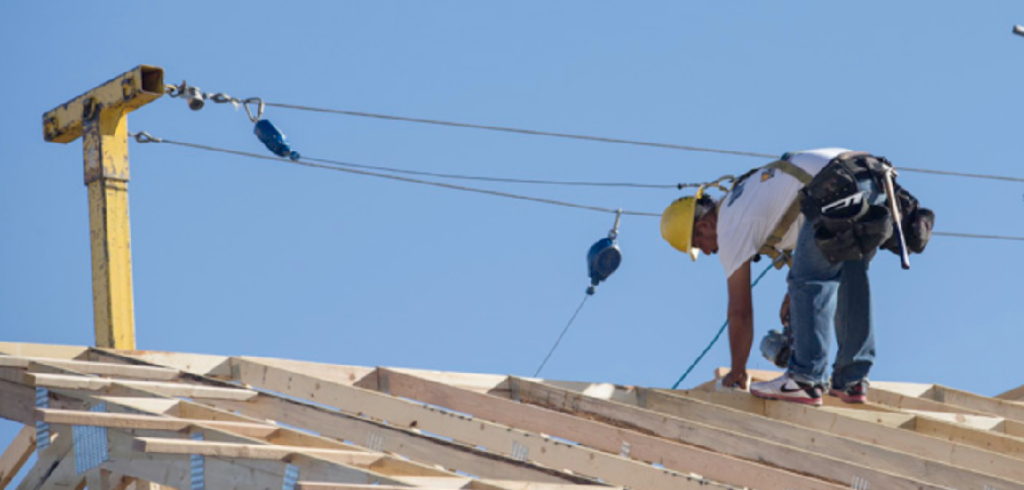
Replacing The O-Ring Within the Cable Grab in the HLL
If the O-Ring has any of the following conditions:
Cracked, Dried Out, Brake Cleaner sprayed on the O-Ring,
Any form of deterioration
THE O-RING NEEDS TO BE REPLACED
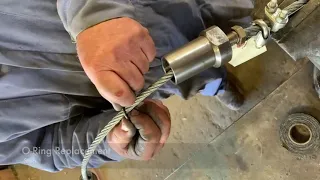
Step 1
- After the jaws have been removed while servicing the HLL, between the back-cylinder and the inside-cylinder, take a pair of sheer-cutters and cut the defective O-Ring off the HLL cable.
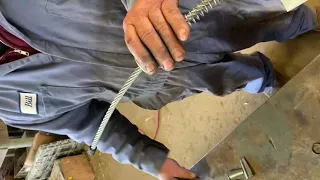
Step 2
- Place one hand on the back-cylinder cap to refrain from the back-cylinder cap from sliding during lubrication, use your opposite hand, and apply Anti-Seize 2-3 inches. Above the back-cylinder cap on the cable.
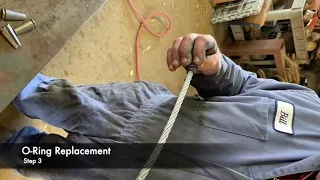
Step 3
- Take Brake Cleaner and spray Brake Cleaner to each jaw piece until the thin residue is off of each piece.
- Dry each jaw piece before proceeding.
- Next, individually take each Jaw Piece laying the piece vertically on a flat surface, you will horizontally scrub each jaw piece until the residue is gone. Avoid scrubbing the threads of each jaw directly with Wire Brush.
- Place Jaw Pieces back onto a flat surface.
- Locate the cable-button on the end of the HLL, located on the opposite side of the inside-cylinder and turnbuckle, and gently slide the new O-ring towards the back-cylinder cap.
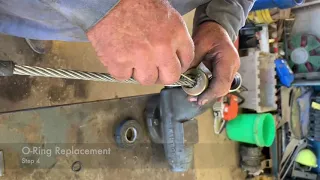
Step 4
- Keeping one hand on the back-cylinder to avoid any sliding, use the opposite hand to pinch the O-ring against the cable, while simultaneously rotating the back-cylinder cap to allow the O-Ring to feed through the groves of the cable.
- When the O-ring is nearly threaded through the back-cylinder cap, take your small flat-head screwdriver and push the remaining exposed O-ring through the back-cylinder while rotating the back-cylinder.
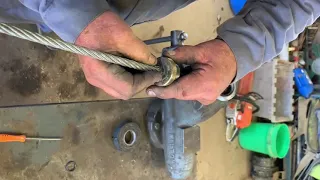
Step 5
- Keeping one hand on the back-cylinder to avoid any sliding, use the opposite hand to pinch the O-ring against the cable, while simultaneously rotating the back-cylinder cap to allow the O-Ring to feed through the groves of the cable.
- When the O-ring is nearly threaded through the back-cylinder cap, take your small flat-head screwdriver and push the remaining exposed O-ring through the back-cylinder while rotating the back-cylinder.
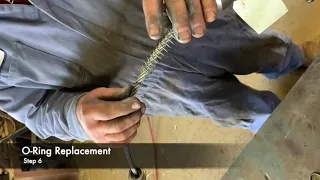
Step 6
- Once the O-ring is threaded through the back-cylinder cap, take the cable-grab spring and pinch the O-Ring.
- Use the small screwdriver to guide the O-Ring through the center of the cable grab spring.
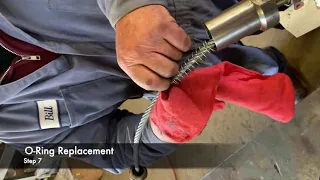
Step 7
- Wipe the Anti-Seize off the O-Ring and cable
- You are now ready to reassemble the Jaws.
Contact Safety Pole
The Safety Pole System
Meets Your Fall Protection
Framing Needs

